
|
|
|
|
EROVER Building Instructions: (instructions for making the control system at the bottom of page) 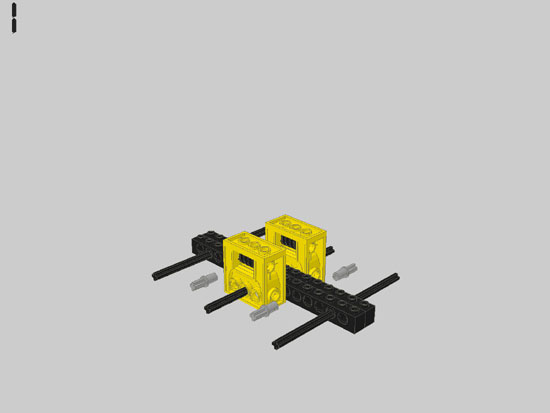 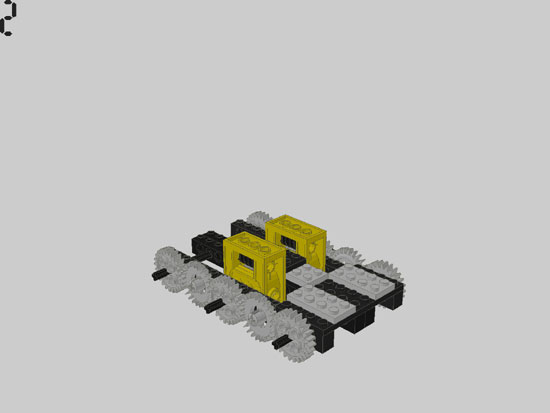 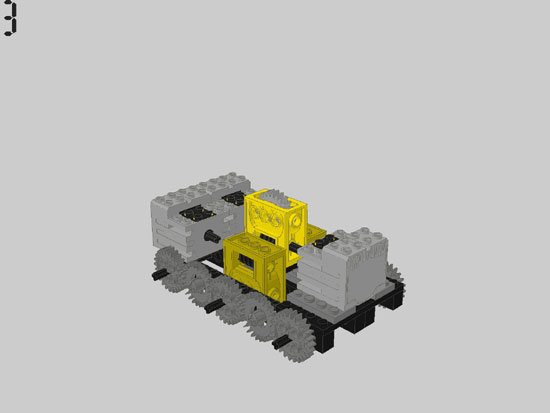 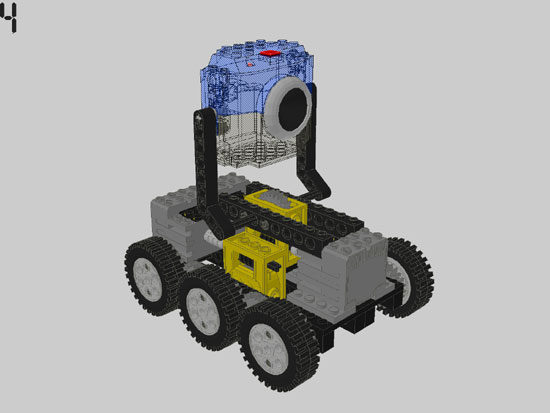 How to set up your robot: You will need the following: Robot Control Page
Basically you just need to copy the javascript program from the API into the top of your page and then use a button to start the function you want from the API.
I used tasks for each function i wanted the robot to do. An example of one of my buttons is:
onclick="ExecuteNow(1,4)" tells the API to run program 1, task 4. If you wanted to say run program 5, task 2 you would use onclick="ExecuteNow(5,2)" To make your control page just arrange some buttons and assign then each a different task#
VERY IMPORTANT TIP: use a small javascript program at the top of your control page like this: <SCRIPT type="text/javascript">var myip = "put your ip address here";</SCRIPT>...to place your IP address in all the right places through out your page without having to search through it and type it multiple times. Just put " + myip + " wherever your IP is required ( " + myip + " is already in all of the code samples i have so all you need to do is copy this the little javascript code into the HEAD section of your page and put in your own IP address)
Robot NQC Program Next, write the program in NQC to make the RCX move when you press a button on your control page. I used 10 tasks to make my robot move. Each task does one thing such as rotate right or tilt the camera up. The tasks are numbered according to which one comes first in the program so put them in order so that the first task matches the button you assigned task 1 and so on. See the NQC tutorial that come with RCXCC for more info. Here is my nqc program for an example.
Web Cam After that you will probably want to add a webcam so people can see where they are going. I copied the javascript code from my true tech webcam page and stuck it into the control page.
Making it all work So now you are probably going to want to get your robot working. First start Web Brick and click on [OPEN SOCKET]. Copy your IP address from Web Brick into the appropriate places in your control page (once at the top of the API script and in two places in the web cam script). save changes to your page. Next start the Web Cam software. Now upload your control page to your website. Troubleshooting Now your robot should be working. But it probably isn't. Make sure you have your ip address entered correctly in all the appropriate places in your control webpage. Make sure you have webbrick connected also. You should also test your program in RCXCC using the direct control pannel to run your different tasks and see that they are running properly. if you need any more help feel free to contact me. For more help see: Web Brick site and NQC tutorial that comes with RCXCC.
 
|
 |